Launch the software
You can launch the application in two ways:
a) run the 3DWiggle executable file with a double click, or choose it from the Start menu
b) open MPO or JPS file types directly (double click, select → ENTER or right click → Open)
The application window can be re-sized and moved freely. The position and size of the window are saved upon closing the application.
Open the image
There are three options for opening 3D images with 3DWiggle:
a) Click the File open/browse button and select and open the image.

b) Open MPO or JPS image file directly in 3DWiggle
- double click, or
- select →ENTER, or
- right click →Open
These actions will evoke
Those actions will invoke 3DWiggle and load the selected image.
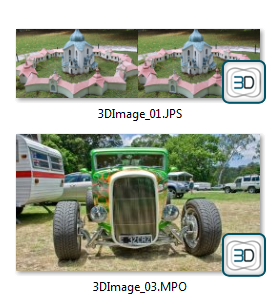
c) Drag and drop image files directly onto 3DWiggle.
Drag and drop one or two images from a file explorer, or
Drag and drop an image from a Google Chrome browser (useful for cross-eye images and animated GIFs).
Next/Previous image
Once an image is loaded, 3DWiggle creates a list of all image files in that directory and keeps track of all the file list changes that may occur. You can browse through images with ease by clicking Next/ Previous buttons or by using Space/ Backspace on your keyboard.

Aligning images
Before any alignments of images, you need to enable layer transparency.
Image alignment is achieved by simply moving the upper layer which holds the right lens image, while the bottom layer (left lens image) remains still. The goal of this action is to achieve the best alignment possible of one object, which should be the center (focus) of your 3D animation.
This can be done in two ways:
a) with the mouse (dragging)
b) with the arrow keys on your keyboard.
These are for fine adjustments and we suggest you use them while the play animation button is on.
Another feature that can help you in the aligment process is the option that enables image borders. Just check the Show image borders option in the Additional options menu.
Play/Pause
Play/ Pause button is pretty straightforward and does just what it says – plays the animation, or pauses it if the animation is already playing.

Fine adjusting
While the animation is playing, also try the Fine align feature.
If you need full precision use the keyboard arrow keys that moves the top layer image by 1 pixel. This allows you to have a much finer precision than with mouse dragging. If you still need precision, but with a larger distance, try the combination of SHIFT + arrow keys that moves the image by 10 pixels.
We made a complete set of transformation control features for adjusting the geometry of images as well as the viewing aspect. This set of features provides you with the best 3D wiggling experience!
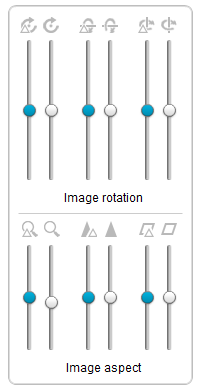
- Image rotation
Use for making rotation transformations on your image. We have implemented a property for full 3D rotation (X, Y and Z axis). These features allow you to make corrections of undesired camera movements, while taking 3D photos.
Just click the round thumb on the desired control slider and drag it up or down. With a click on the icon above the sliders you can reset the image to its default version.
We advise to make these corrections while the animation is playing.
- Image aspect
Zoom control enables you to set the field of view and avoid flickering areas while creating a wigglegram.
Image can be zoomed in up to 200%, which narrows the field of view and virtually crops out those annoying flickering areas of an image. This is done with a click on the round thumb on zoom control slider ![]() that you can drag up or down.
that you can drag up or down.
Also, images can be zoomed out down to 20% of the original display size.
Shooting distance, as well as viewing distance is crucial when creating wiggling images. That is where zoom balance ![]() comes in handy. With small adjustments your images to be perfectly aligned.
comes in handy. With small adjustments your images to be perfectly aligned.
In case you need a more “plastic” look – particularly nice with wigglegrams, sharpen/ blur control ![]() can do wonders for you.
can do wonders for you.
Furthermore, if one of your images (eg. left) has a different focus from the other one (eg.right), sharpen/ blur balance ![]() is the perfect solution to set the images correctly. Try it – you will be amazed by the job it does with just a few clicks.
is the perfect solution to set the images correctly. Try it – you will be amazed by the job it does with just a few clicks.
While taking a shot with smart phone, or digital camera, there is a good chance that the resulting photos will have some deformations in terms of viewing perspective. We did our best to handle these situations too with new skew adjustment control ![]() .
.
Animation settings
We have made several features available for controlling the animation behavior of your wiggling images. With just a few corrections, you can achieve great results!
![]() Animation duration is controlled with a slider component. Animation duration stands for the amount of ms (milliseconds) each image (left or right part of 3D image) remains visible before it is switched with the other image. It can vary from 36ms to 1521ms. This way you can choose the most suitable wiggling speed for each image, depending on your wishes and needs.
Animation duration is controlled with a slider component. Animation duration stands for the amount of ms (milliseconds) each image (left or right part of 3D image) remains visible before it is switched with the other image. It can vary from 36ms to 1521ms. This way you can choose the most suitable wiggling speed for each image, depending on your wishes and needs.
It’s simple – just click on the round thumb on the slider bar and drag it left-right. We advise you to use the option while the animation is playing.
Sometimes animation can get unpleasing for the eye. This is the moment to use the fade effect during the transition between the images. This feature smooths the animation so that the wiggling image becomes calmer and pleasant to look at.
![]() Effect slider is used for defining the intensity of fade effect (in percentages) you wish to apply to the transition. The higher the percentage, the smoother animation will be.
Effect slider is used for defining the intensity of fade effect (in percentages) you wish to apply to the transition. The higher the percentage, the smoother animation will be.
![]() Effect balance slider is used to define how much each of the layers (images, left and right)) will be included in the animation.
Effect balance slider is used to define how much each of the layers (images, left and right)) will be included in the animation.
When set at “0”, the animation will be split equally between two images.
When set at “-1”, the animation will be assigned only to the bottom layer (image), making it visible the whole time.
When set at “1”, the animation will be assigned only to the top layer (image).

Layer (image) transparency
With this feature you can turn the top layer (image) transparency on/off.
In case the transparency is disabled, the top image will be completely visible, covering the bottom image. If you do this, it will become difficult to align images properly. That’s why we advise you to set the transparency at the very beginning of editing, before the alignment action.
This is done by checking the “Transparent top layer” option in Additional options menu.
Note: Transparency will not be enabled while the animation is playing.
Adjusting image colors
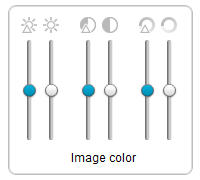
For a flawless 3D image we provide you with some features that will compensate imperfections of your camera or poor shooting conditions. Fix your image to perfection with: Exposure level, Saturation and Contrast settings (advisable: while the image is wiggling).
Sometimes, one of the images (that you use to create 3D image) assembles more (less) light then the other. You can adjust the difference in brightness levels with BALANCE CONTROL ![]() slider (by dragging it up or down).
slider (by dragging it up or down).
With SATURATION ![]() and CONTRAST
and CONTRAST ![]() slider you can correct all the imperfections of the image when it comes to color.
slider you can correct all the imperfections of the image when it comes to color.
Saving settings
The more you use 3DWiggle for viewing 3D images, the more you will realise the importance of image SAVE settings. No one would like to spend several minutes on setting each 3D image over and over again. That’s why we made it possible for our licensed users to save all the settings they made.
The settings are saved onto the image header. The image itself remains unchanged. This allows to you to share per-adjusted wigglegrams.
- Save as
Saves all the settings: alignment of images, rotations, color corrections, image aspect, animation adjustments etc.

- Auto-save
Automatically saves all the settings. Comes in handy when preparing images to be shared or exported. Note: animation adjustments won’t be saved if “Save animation” is not selected.

- Save animation
If Auto–save is activated, Save animation allows to choose whether to save all the animation adjustments (duration, effect and effect balance) or not.
Export images
With the superb new feature you can share your 3D masterpiece with others on web by uploading videos or animated GIFs, or other formats that 3DWiglle supports.
You can export adjusted images as:
- Video
Video showing a wiggling image. Video medium is 15fps, 5.000 kbps, Video high is 25fps, 10.000 kbps. Both are generating a video sequence in Theora format (*.ogv) of about 10 seconds.
The Theora format can be played in Firefox, Chrome and other browsers, without any plug–ins. Also, Theora format videos can viewed on a standard media player, eg. VLC, and on social platforms, eg. YouTube and Facebook.
- Animated GIF showing a wiggling image.
The GIF can also include the smooth transition effect. In this case, the GIF has about 25fps resulting in a smooth transition but on the cost of the file size.
Usage: it’s the standard format for wiggling images
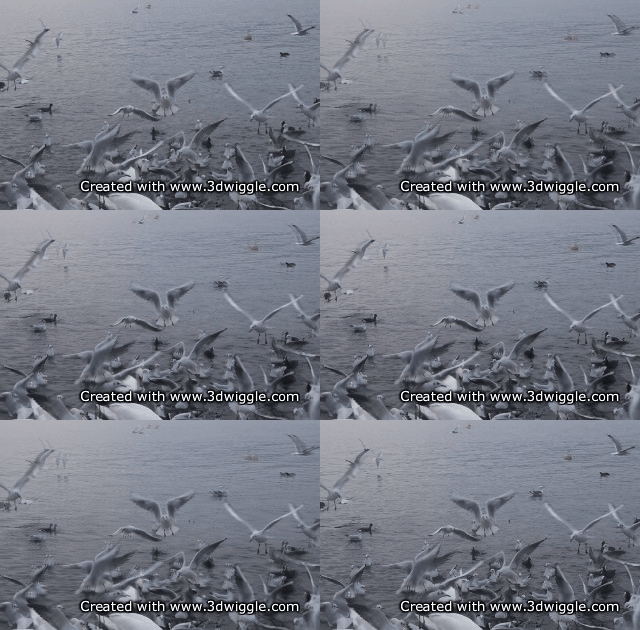
- Side-by-Side, Cross-Eye and two single JPEG’s
One JPEG file built of two images side-by-side (left, then right) or cross-eye (right, then left), or two single JPEGs (one left, one right).Usage: Use 3DWiggle to create 3D images with a 2D camera. Also, this format will allow you to wiggle cross-eye images on websites, with a smooth transition. Use two single JPEGs if you want to use CSS only. This is the best way to wiggle images in a browser, using lightweight code and small file sizes.
Usage: Use 3DWiggle to create 3D images with a 2D camera. Also, this format will allow you to wiggle cross-eye images on websites, with a smooth transition. Use two single JPEGs if you want to use CSS only. This is the best way to wiggle images in a browser, using lightweight code and small file sizes.
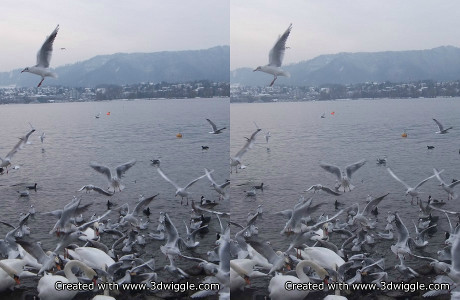
- Side-by-Side + HTML, Cross-Eye + HTML
This is the best way to share your wigglegrams, online or via mail. One HTML file, shows your image in a nice frame while the wiggling effect of the image starts with mouse hover. Easy to implement on any web pages.
It’s the most common way to share your wiggle 3D images online or sending it via email.

How to export an image?
Open the Export panel with a click on “Export” button located in the bottom-right corner of the software.
Export panel pops up with a moveable and resizable rectangle frame (similar to “crop” feature), that will help you define the area of the image you wish to export. Once the frame is set (dimensions can also be set with numeric steppers), select the desired format. Click on “Export” button, select the file name and destination, and wait until the export is done. Some formats may need a bit more time to process (Video, GIF).

Additional options menu
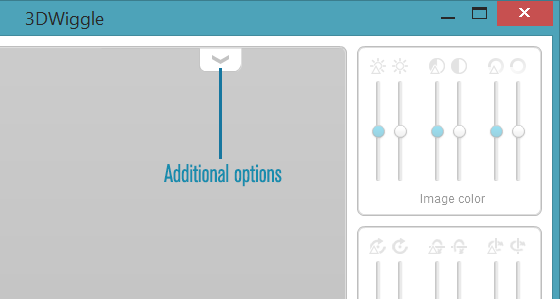
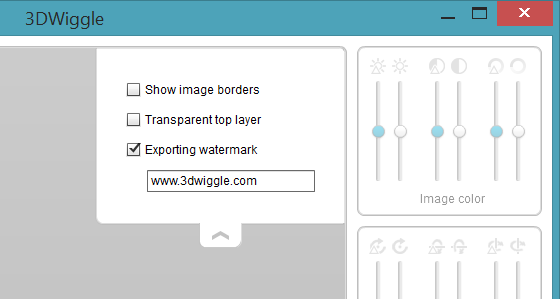
This menu provides you with some additional options that will make your work easier, such as setting layer transparency or image borders.
Here you can also define the watermark for the exported image or video (available only to licensed users).
Usage: The menu is located on the top right angle of the image. The menu is hidden and is extended with a click on the small button with “arrow down”. To hide it again, just click on the same button once you’ve made the changes.
Licensing 3DWiggle
The exciting feature is available only to licensed users. It enables you to use “save” and “export” options.
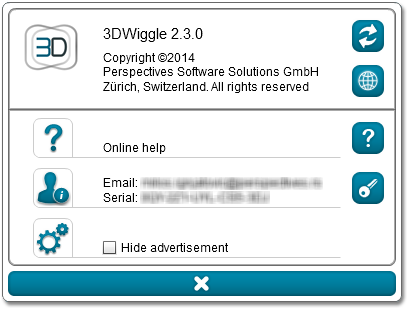
To begin the process of licensing your software, click the 3DWiggle logo button. ‘About’ dialog will appear displaying the current license information. Click the key button to take you to the license dialog.

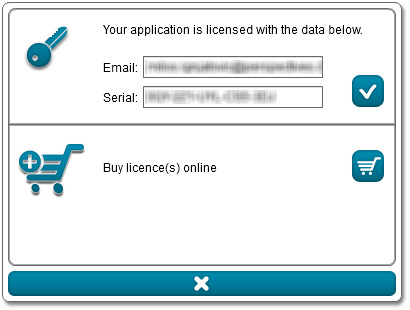
If you haven’t purchased the license for 3DWiggle yet, just click on the shopping cart button. It will take you to our online shop, where you can buy single or multiple licenses for the product.
Once you’ve bought the license, a confirmation email will be sent to the email address you put in the form. Insert the credentials you received into the given fields and click on the confirm button.
Updating 3DWiggle
Application will automatically check for new updates on each start up of the computer, unless instructed differently.
Update process can also be started manually, by clicking on the “Update” button in the ‘About’ dialog of the software interface.
![]()
Once you click on the Update button, the update dialog will appear on your screen showing the update check process. If a new version of 3DWiggle is available for download, Update dialog will inform you about it.
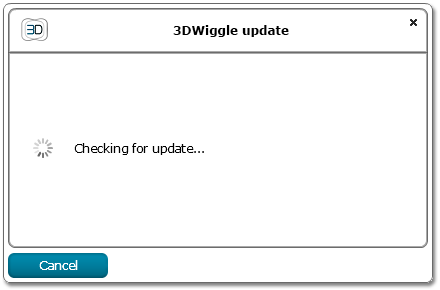
User can choose to download the new update, by clicking the “Update now” button, which opens the download page in web browser.
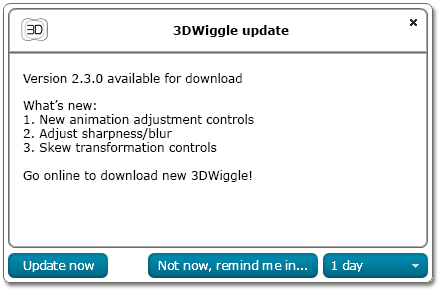
Either download the updates immediately or postpone the update for later.

